
 |
Hello Everyone!
When I recently joined the Buttons Galore & More design team, we were allowed to pick a certain number of products to use in our own projects. Well, I ran across these adorable crayon buttons and just knew I had to create a project with them. I actually ended up getting 3 packs of the buttons because I had so many project ideas!
When I recently joined the Buttons Galore & More design team, we were allowed to pick a certain number of products to use in our own projects. Well, I ran across these adorable crayon buttons and just knew I had to create a project with them. I actually ended up getting 3 packs of the buttons because I had so many project ideas!
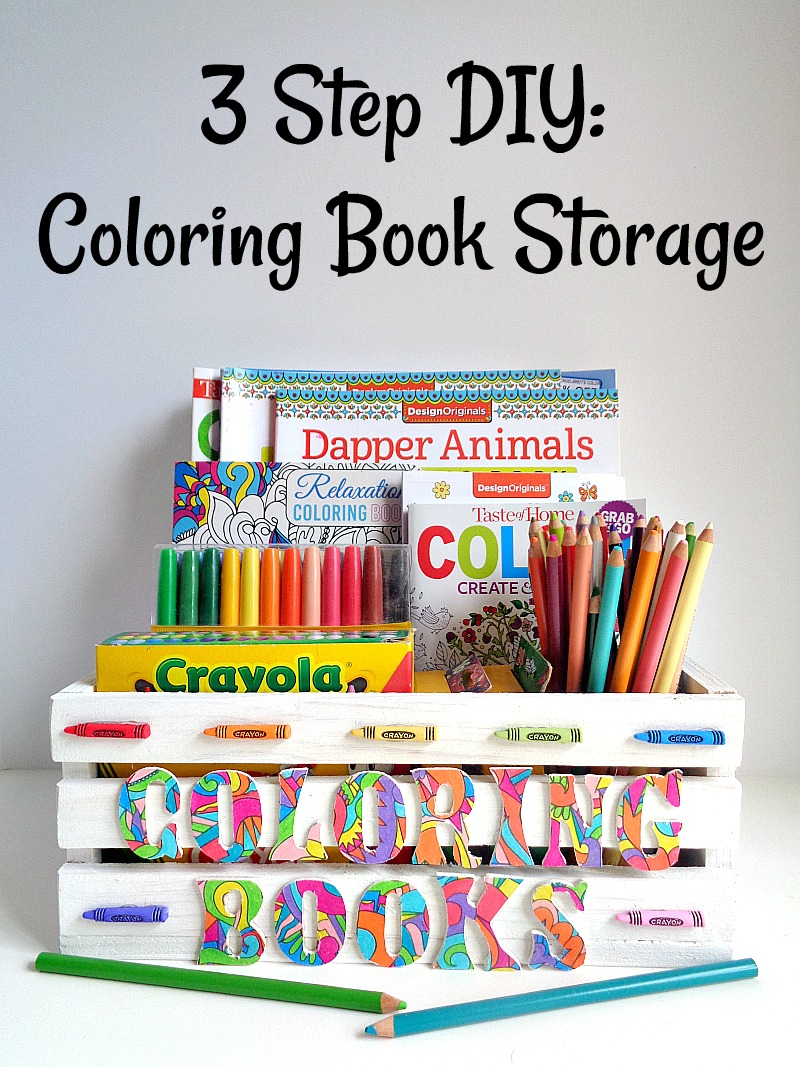
Today I will be showing you one of those ideas which involve giving life to a coloring book page and creating storage for all your coloring books. The best thing about this project is that it’s only 3 steps and can really be customized to fit your own design taste.
So, if you want to learn how to make your own coloring book storage, then keep reading below!
♥ ♥ ♥
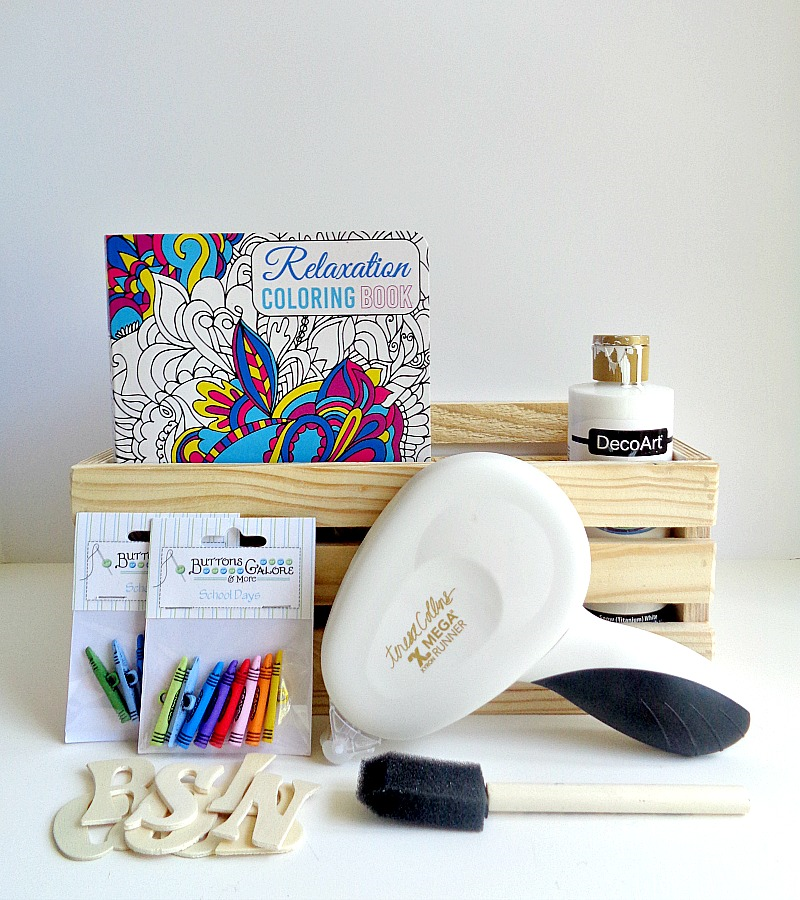 |
Supplies
Wooden Crate
Wooden Letters
Xyron Teresa Collins Mega Runner
Buttons Galore & More: Crayons - 4042
Coloring Book Page (already colored)
Wooden Crate
Wooden Letters
Xyron Teresa Collins Mega Runner
Buttons Galore & More: Crayons - 4042
Coloring Book Page (already colored)
DecoArt Americana Acrylic Paint: Snow (Titanium) White
Foam Brush
Craft Knife (not pictured)
Craft Knife (not pictured)
Scissors (not pictured)
Hot Glue Gun (not pictured)
 |
 |
Keep repeating this step until all your wooden letters are covered.
 |
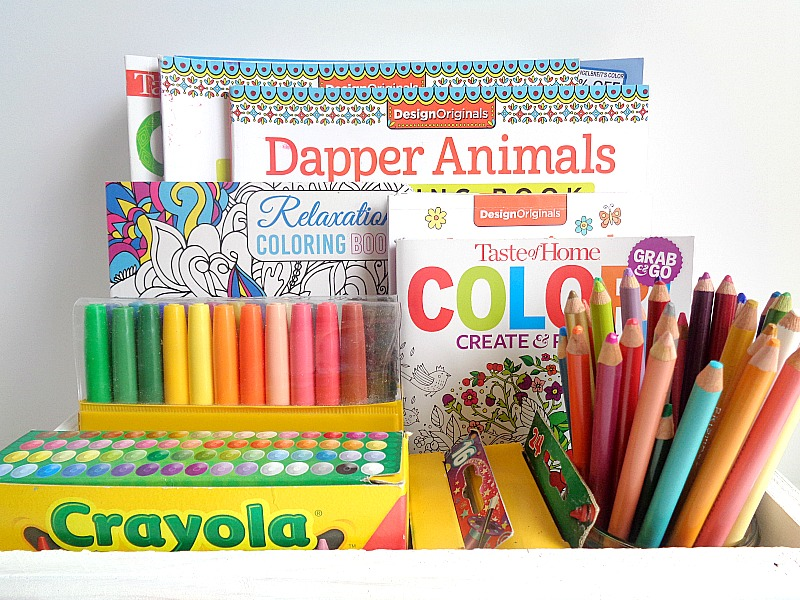
Once all your letters and buttons have been glued into place, you’re ready to store your coloring books!
 |
 |
 |
 |
♥ ♥ ♥
For a 3 Step DIY, this project turned out really cute!
Now, even though my wooden crate is for coloring books, you could easily change the letters to fit your storage needs. For example, your wooden crate could say ‘’coloring supplies’’ or ‘’coloring tools’’. No matter what phrase you choose, just make sure that your wooden letters are small enough to fit on the front of your wooden crate.
Finally, if you are wondering why I used Xyron adhesive instead of a decoupage glue in step 2, it's simply because the Xyron adhesive does not affect the medium that you used on your coloring book page. For example, if you were to of used a decoupage glue in this situation, then the glue might have smeared any ink or watercolor you might have used on your coloring book page. So, in this case, I feel that Xyron's products and coloring book pages are definitely a perfect match!
So, what do you think? Do you like this coloring book storage project?
xo Katie
p.s If you want another storage idea for your crayons, then check out this DIY that I made last year!


No comments
I love comments, so thank you for taking the time to leave one. :)