
 |
Today I am sharing my very first Valentine’s Day project of the season!
I usually don’t make or share Valentine’s Day projects until the end of January. However, one of my goals for this year is to get ''holiday content'' out earlier. So, since today is the 17th of January, I think we are off to a good start!
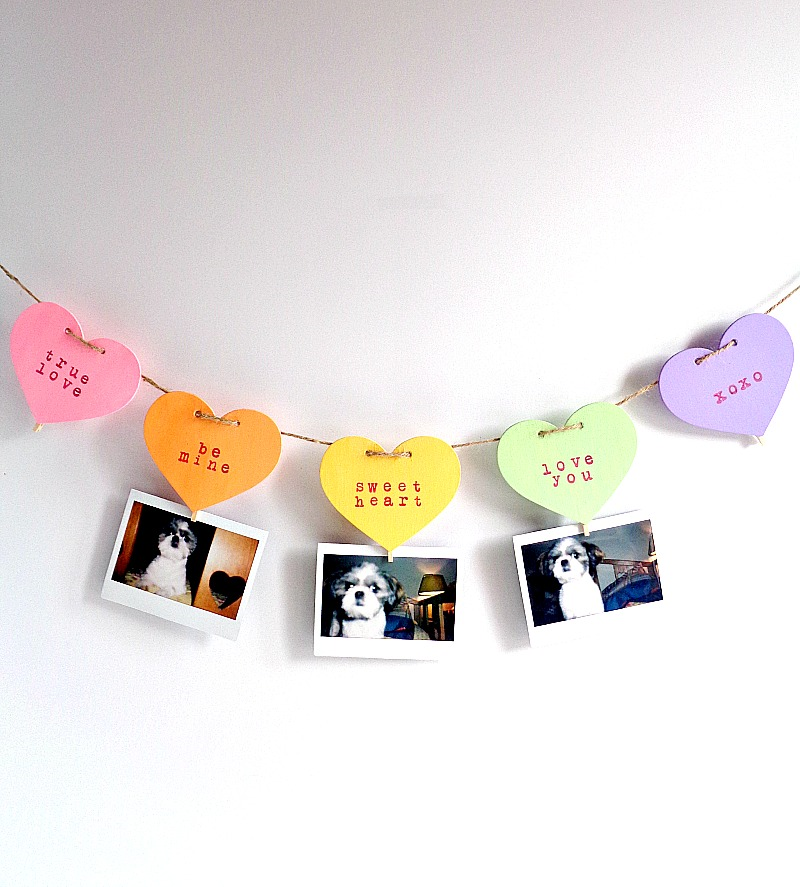
The project that I am showing you how to make today is a Conversation Heart Photo Garland! This photo garland is so easy to make because we are using a pre-made wooden heart garland. Now, you can get wooden heart garlands online and at your local craft store. The wooden heart garland that I used in this project, included five wooden hearts and a piece of twine in the pack.
To find out how to make your own Conversation Heart Photo Garland, keep reading below!
♥ ♥ ♥
 |
Supplies
Wooden Heart Garland + Twine
DecoArt Americana Acrylic Paint in Snow (Titanium) White
DecoArt Americana Acrylic Paint in Electric Pink
DecoArt Americana Acrylic Paint in Bright Orange
DecoArt Americana Acrylic Paint in Cadmium Yellow
DecoArt Americana Acrylic Paint in Pistachio Mint
DecoArt Americana Acrylic Paint in Purple Cow
Paint Brush
Prima Press Holder & Alphabet Stamp Set
Red Ink Pad
Mini Clothespins
Hot Glue Gun + Glue Sticks (not pictured)
 |
Step 1: Paint your wooden hearts on the front and back. Then set them aside to dry.
 |
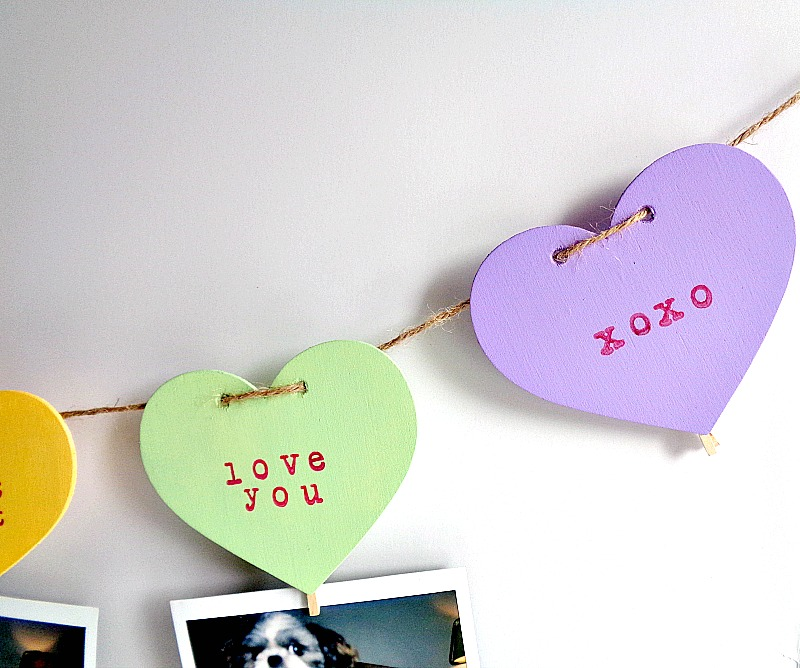
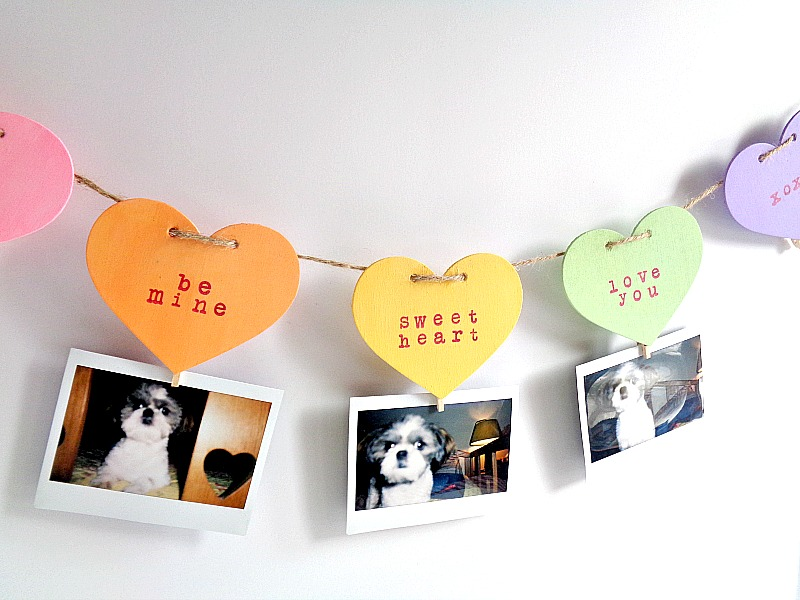
Step 2: Using your letter stamps and red ink pad, stamp your ''conversation heart phrases'' onto each of your wooden hearts.
Crafty Side Note: If you don’t have letter stamps or don’t want to take the time to stamp, you can always use red letter stickers instead. |
Step 3: Flip each of your wooden hearts over and hot glue a mini clothespin towards the bottom of your heart.
 |
Once your wooden hearts have been added to your twine, you are now ready to hang up your garland and display your favorite photos!
 |
 |
 |
 |
 |
♥ ♥ ♥
I love how this photo garland turned out and I love that this is a home décor piece that I can use year after year.
While
making your own version of this project, don't forget that you can
customize it in a variety ways. For example, I went with the traditional
conversation heart colors and phrases for my photo garland. However,
you can always change the colors and phrase to fit your own unique style.
So, what do you think? Do you like this Conversation Heart Photo Garland?
So, what do you think? Do you like this Conversation Heart Photo Garland?
xo Katie


No comments
I love comments, so thank you for taking the time to leave one. :)