 |
Hello Everyone!
With Valentine’s Day being right around the corner, you may be looking for a simple project to make which can be given as a gift. If this is you, then you will love today’s DIY because it is only 3 steps and can be completed in under an hour!
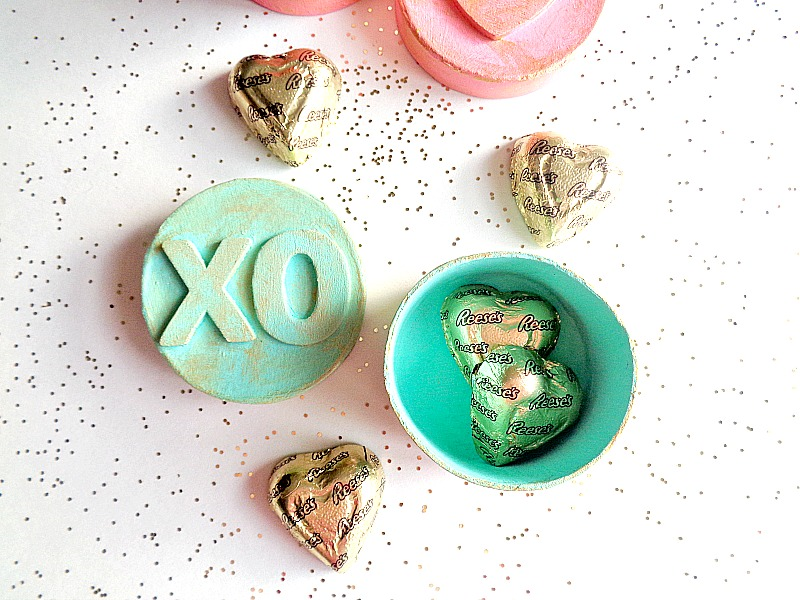
Today, I will be showing you how to make some simple DIY Valentine’s Day Candy Boxes! If you have been following the blog for a while, then you know that I love to make candy boxes for about every holiday (check out my Easter, Halloween and Christmas candy boxes). Since Valentine’s Day (along with Easter) is a holiday which is drowning in chocolate, I thought it would be fun to show you how to make a simple candy box.
The candy box that I am making today is on the smaller side but it’s the perfect size if you are wanting to give a small gift to your friends or coworkers!
So, if you want to learn how to make your own Valentine’s Day Candy Boxes, then keep reading below!
♥ ♥ ♥
 |
Supplies
Small Paper Mache Round Boxes
Wooden Letters or Shapes
Paintbrush
 |
Step 1: Grab all of your wooden letters/shapes and begin sliding them through your Xyron 3 Inch Disposable Sticker Maker. Keep repeating this process until you have run each wooden piece through your Xyron Sticker Maker.
 |
Step 2: Now take each of your wooden pieces and rub the top of the sticker paper. Then peel each wooden piece off the sticker paper and adhere them to the lid of your paper mache boxes.
 |
Step 3: Paint your paper mache boxes and then set them aside to dry.
For my paper mache boxes, I first painted them in a solid color, like Electric Pink, and then set them aside to dry. Once the boxes were dried, I then went back and lightly brush some 24K Gold on top of the solid paint to give it a bit more punch!
Once your boxes are dry and you are happy with how they look, you are now ready to fill them with candy!
 |
 |
 |
 |
♥ ♥ ♥
I loved how these little candy boxes turned out and you really can’t beat a 3 step DIY!
Besides making these candy boxes for Valentine’s Day, you could also make these candy boxes throughout the year for different holidays! For example, if you had a wooden bunny shape, you could easily use this idea for Easter.
So, what do you think? Do you like these Valentine’s Day Candy Boxes?
xo Katie
p.s If you want to get your pets on the Valentine’s Day boat, then check out these Conversation Heart Pet Treat Boxes (which is also 3 step DIY)!


No comments
I love comments, so thank you for taking the time to leave one. :)