
Here is another Valentine's Day DIY. This project is fun and super easy. This project is also good for using up scraps and left over supplies in you house.
Enjoy,

Valentine's Day Jar D.I.Y

Supplies
Jar
Scrapbooking Paper
Scissors
Paint
Buttons and Ribbon (optional)
 |
| picture 1 |
 |
| picture 2 |
 |
| picture 1 |
 | |
| picture 2 |
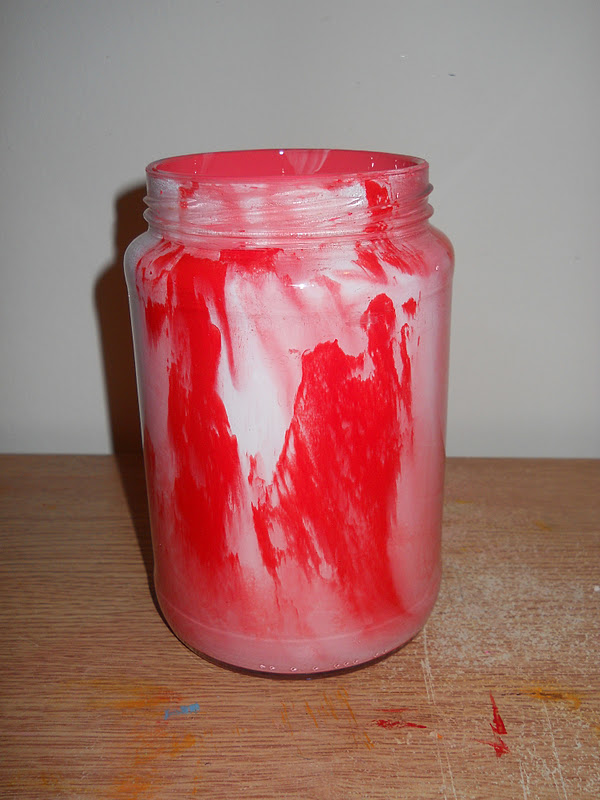
Step 2: Put the lid on your jar ( make sure it's on tight) and shake it up. You might have to add more paint depending on how big your jar is. Once your whole jar is covered, take the lid off and set it to the side to let it dry. Now depending on how much paint you use and how big your jar is, will affect the drying time. This jar took about three days to dry because I use a lot of paint.


What I'm Linking This Post To:
http://www.thegirlcreative.com/


That looks so sweet, and so simple to make!
ReplyDeleteThis looks awesome! I love that you used an old jar.. looks so pretty! Thanks so much for sharing with the Pink hippo party.. can't wait to see what you share next!
ReplyDelete