
Today I am sharing with you my first Easter DIY of the season!
I came up with this small idea, when I was trying to use up some old Easter paper I had lying around. What I came up with, was an Easter Rabbit Silhouette DIY. This project is super easy and is great for all those small scraps of paper, ribbon, buttons and etc that you may have.
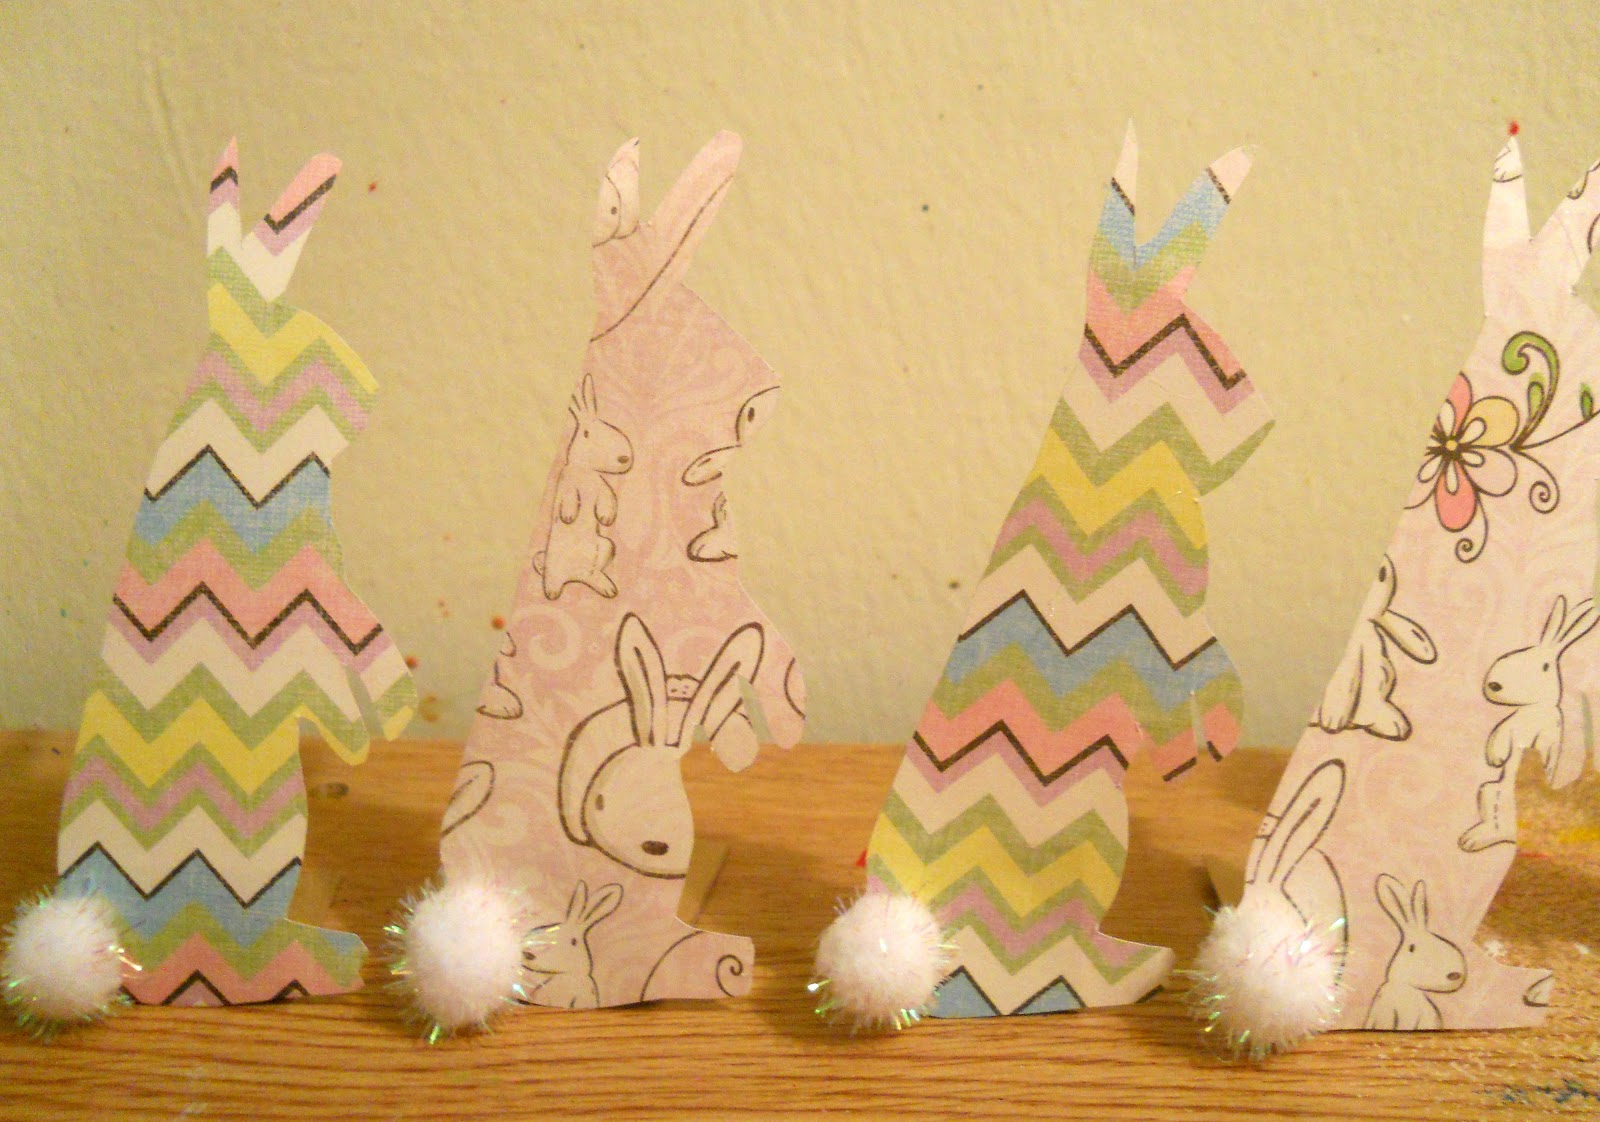
Once your done with this project, you could sit the rabbits on a bookshelf or in front of a bowl of ''easter'' candy.
So lets get hopping down this bunny trail!

Supplies
Scrapbooking Paper
Rabbit Template
Scissors
Cardboard
Pencil
Hot Glue Gun
 |
| picture 1 |
 |
| picture 2 |
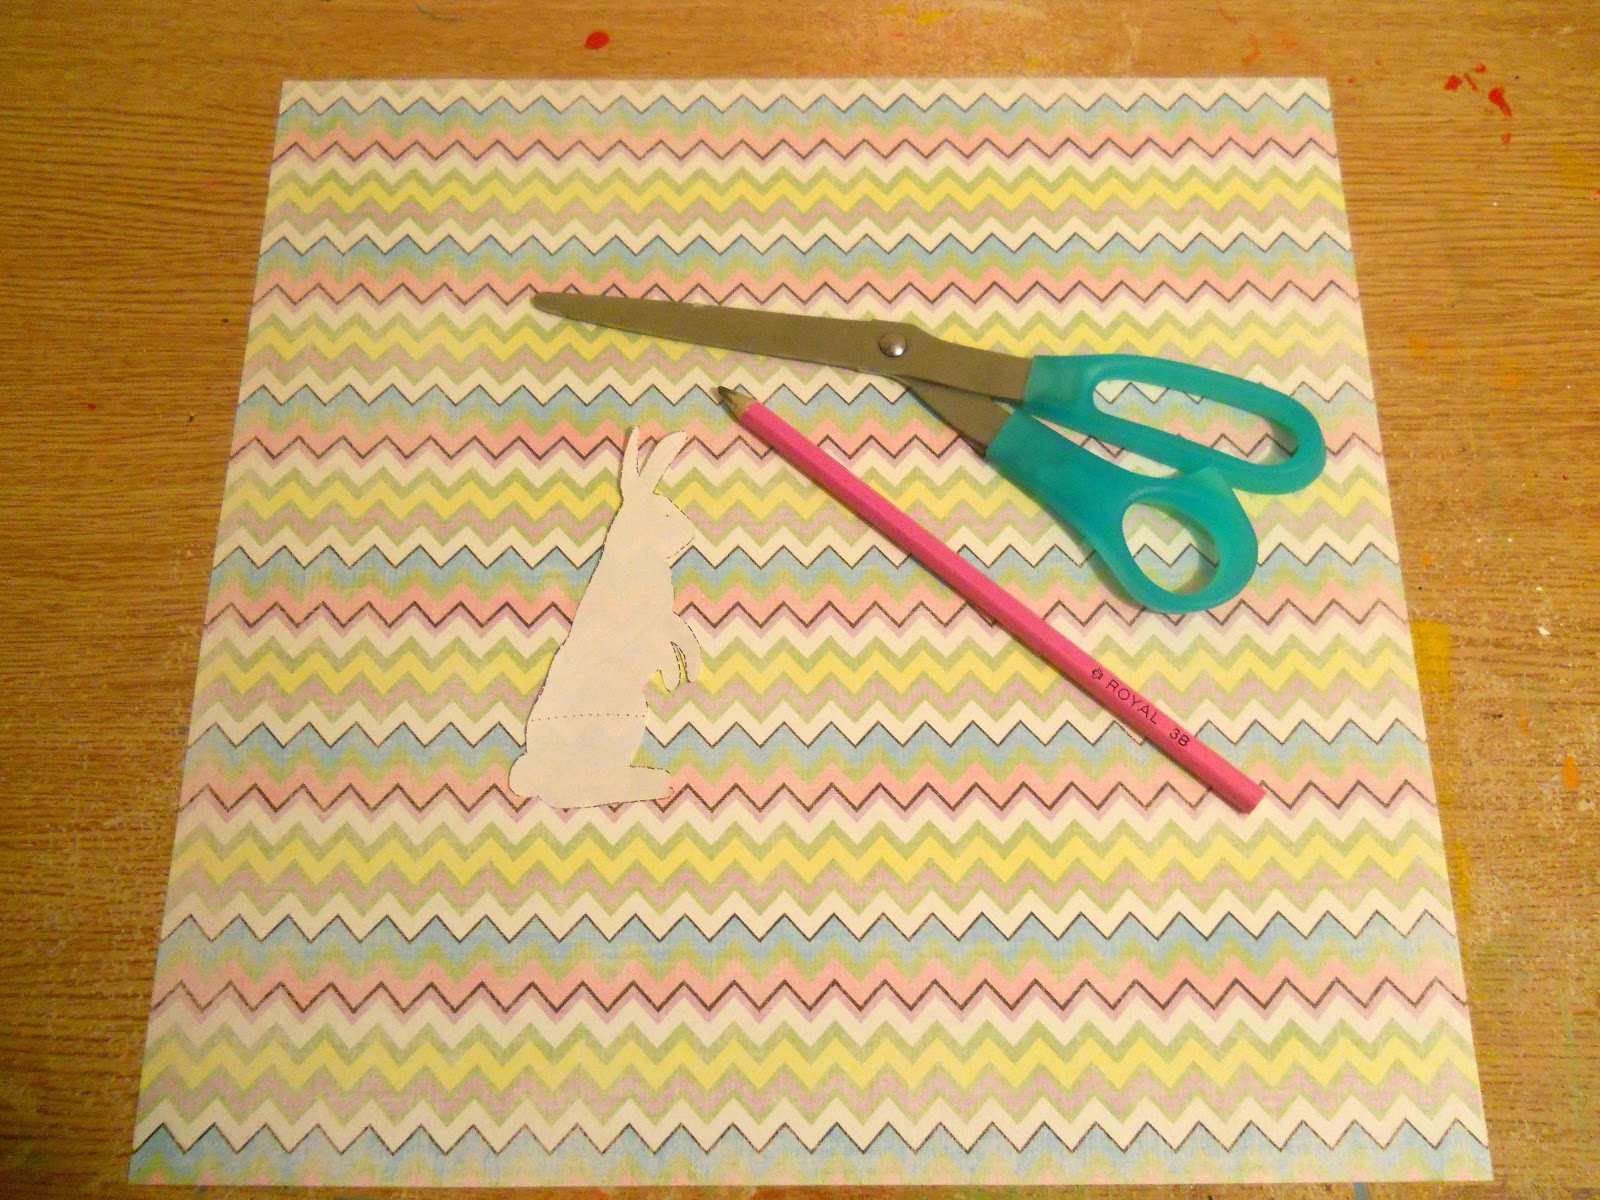
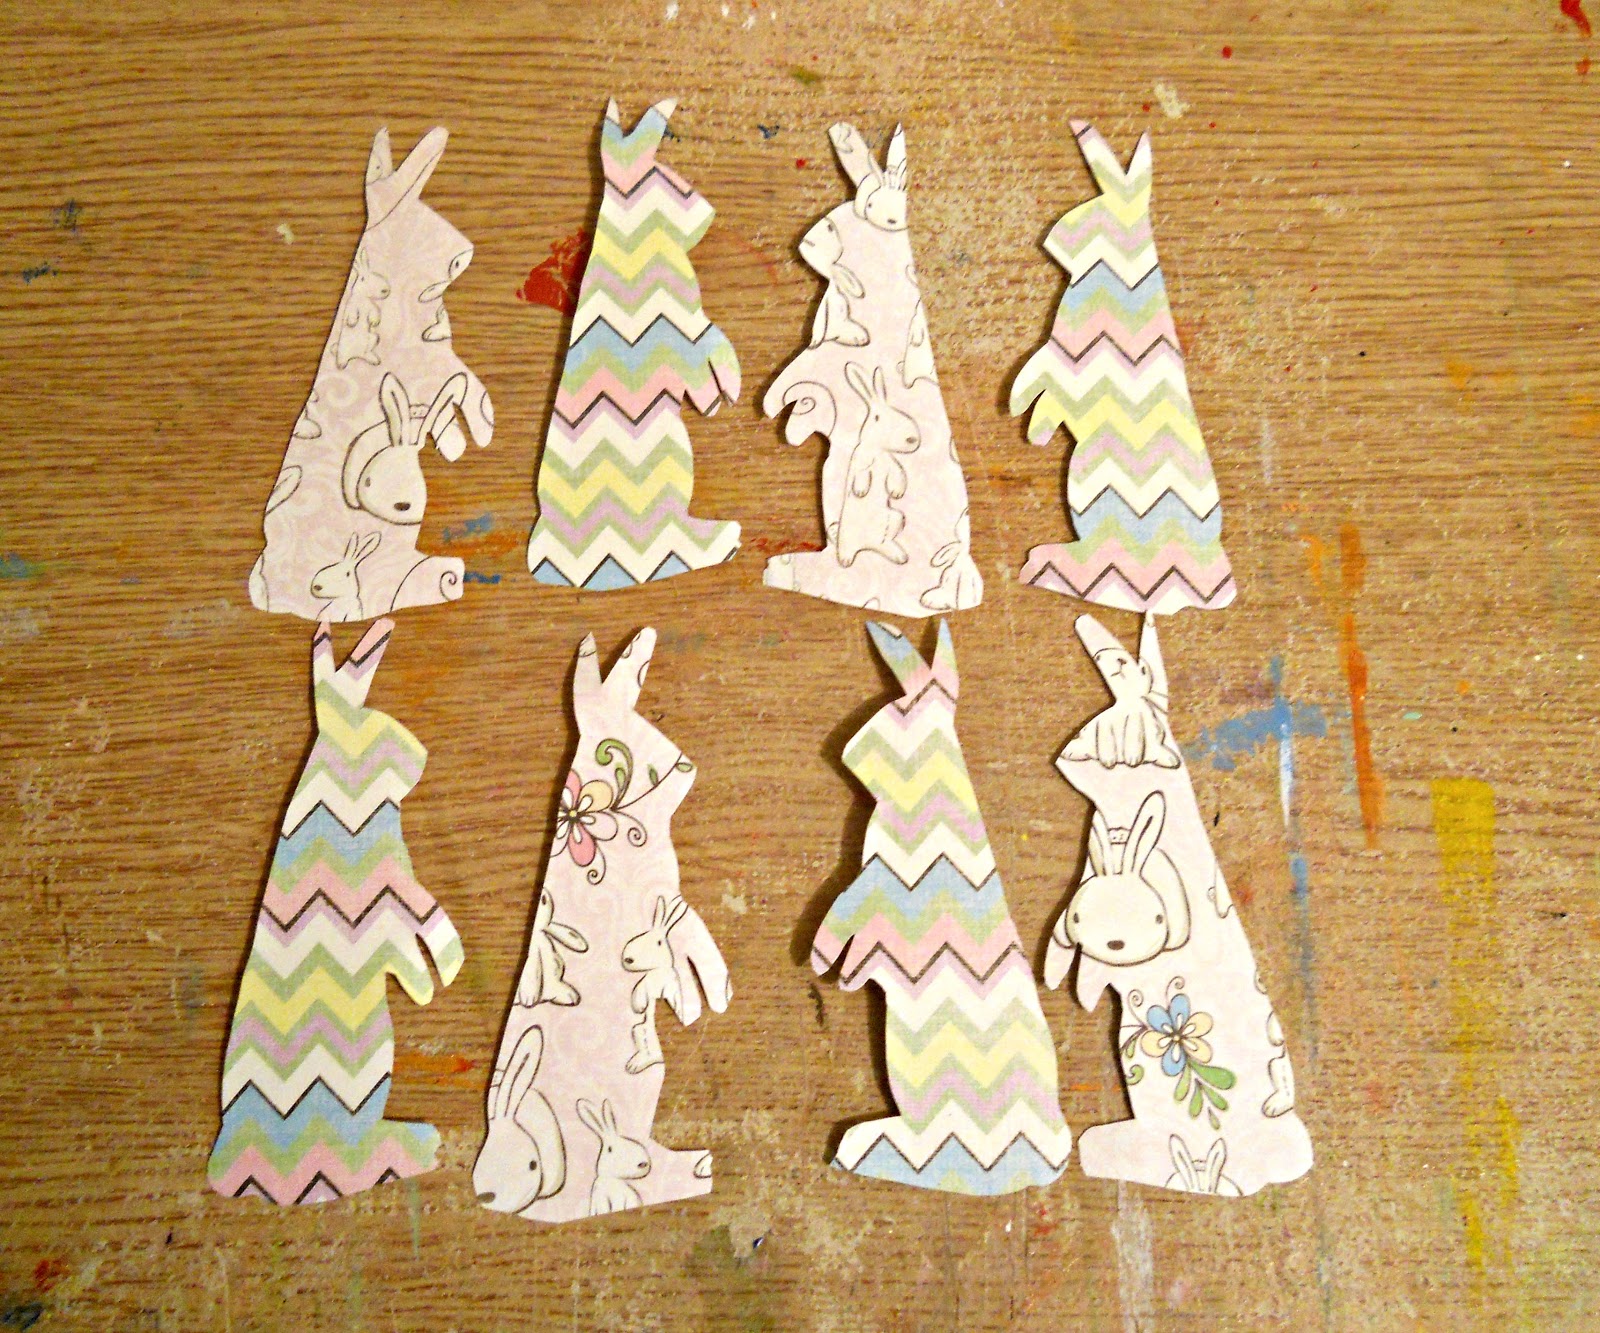
Step 1: Take your rabbit template and trace in onto some scrapbooking paper. Once you done tracing, cut out your rabbits (they should look something like picture 2).
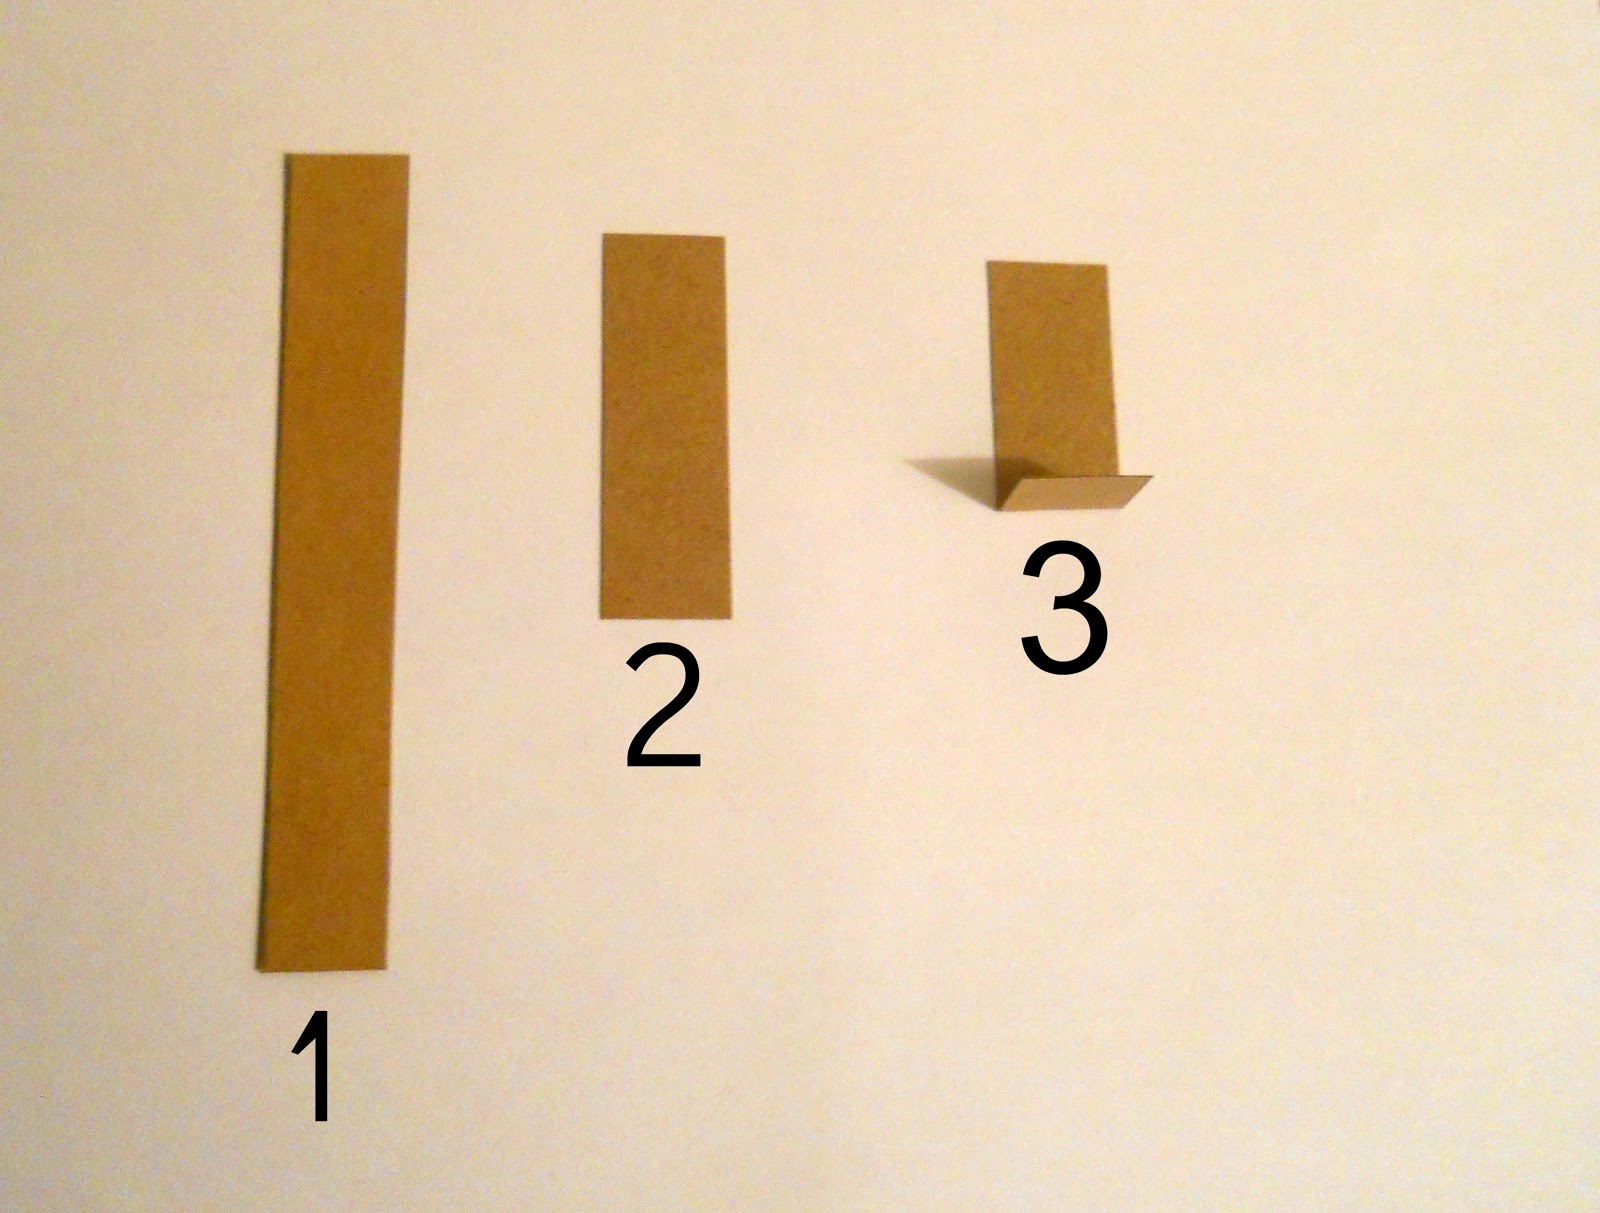
Step 2: Now take your cardboard and cut it into strips (1). Then take that strip and cut it into two separate pieces (2). Finally take one of the pieces and fold about 1/4 of the end up (3).

Step 3: Take your small folded piece of cardboard and hot glue it to the back of your rabbit.
Then your done!

Enjoy,
Katie


LOVE their little tails!! so cute.
ReplyDeleteThere tails are probably my favorite part of this whole project :)
Delete