
Hope you all had a great weekend!
Last week I was looking at all my supplies and realized that I had a little bit of everything. Like yarn, string, ribbon, beads, feathers.... you get the idea. Then I was trying to think of a craft project where you only needed a little bit of this and a little bit of that. At about that time, I saw a dreamcatcher on etsy and it dawned on me I should make a dreamcatcher.
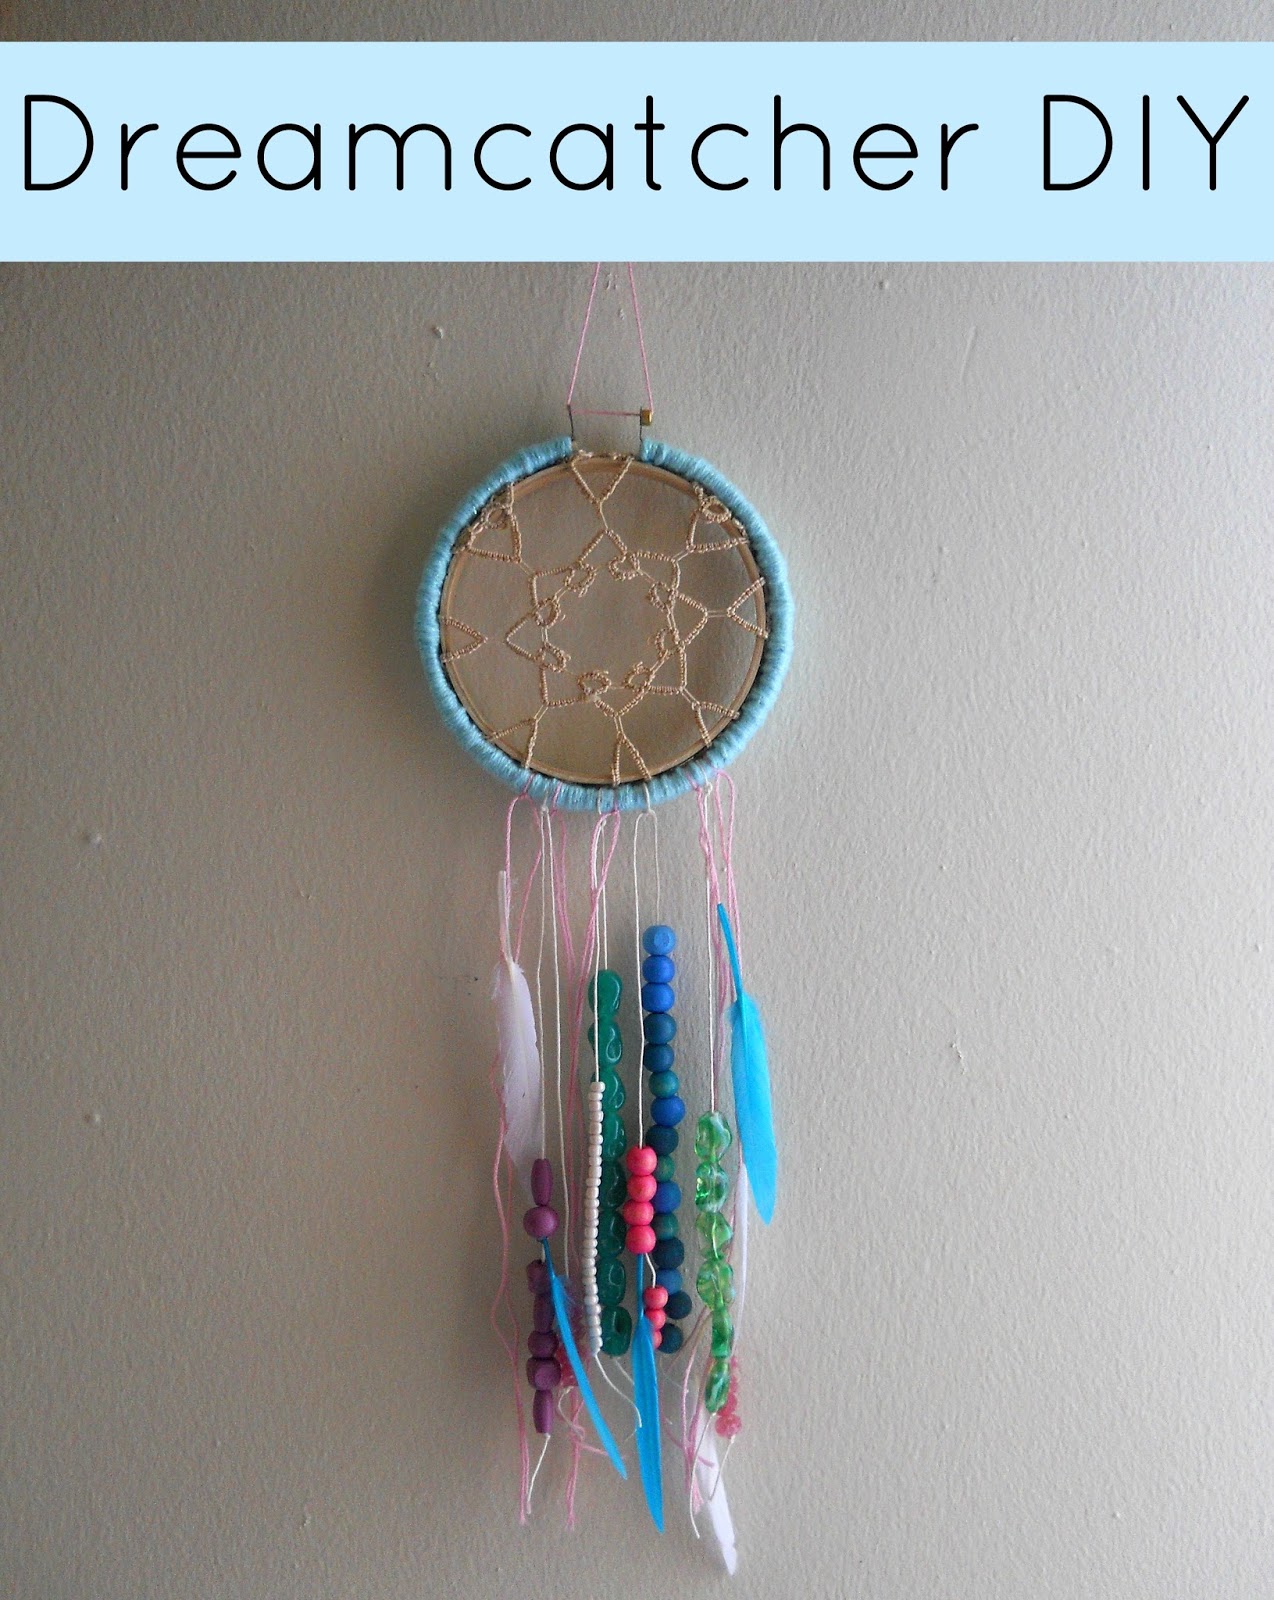
So today I am going to be showing you how to make a dreamcatcher. This dreamcatcher is really easy to make and is super customizable to fit any style.
Lets Get Crafty!

Supplies
Yarn Or Ribbon
String, Cord Or Embroidery Thread
Small Embroidery Hoop
Doily Or Lace
E-6000 Or Hot Glue Gun
Beads
Feathers
Scissors
 |
| picture 1 |
 |
| picture 2 |
 |
| picture 3 |
Step 1: Pull apart your embroidery hoop and set the inner circle to the side (will come back to it later). Now with your other circle apply a small amount of glue to the inner part and press your yarn/ribbon into the glue (picture 1). Once your glue is dry begin wrapping your hoop with your yarn or ribbon (picture 2). When you reach the end of your hoop cut off any extra yarn and glue the end to the inside of your hoop. Your hoop should look like picture 3 when your done.
 |
| picture 1 |
 |
| picture 2 |
Step 2: Take a long pieces of cord or string and tie them to your hoop. Make sure you knot your cord a couple of times (picture 1). When your done you should have something like picture 2.


Step 3: Begin adding beads to your pieces of cord. Just slide the amount of beads you want on your cord and tie a knot at the end.
 |
| picture 1 |
 |
| picture 2 |
 |
| picture 3 |
Step 4: To add feathers to your dreamcatcher just apply a drop of glue to the end of your feather and slide it through a bead, then let it dry (pictures 1 and 2). You can also glue your feather directly to a plain piece of cord (picture 3).
 |
| picture 1 |
 |
| picture 2 |
Step 5: Now, get your other circle that we put to the side. Lay your doily or lace on top of this circle (picture 1). Then get your outer circle and place it on top of the inner circle (picture 2). Make sure you remove the tightening screw at the top of the embroidery hoop before you sandwich the circles together. When your done cut off any extra ''fabric'' on the back.
With the tightening screw removed, feed a piece of string through the holes and tie a knot. This will create a loop so we can hang our dreamcatcher.
Then your done!


xo Katie


This is so cute! I love that you used a doily for the inside of your dreamcatcher- that's so clever!!
ReplyDelete