
This past weekend I went to Wal-Mart and found this cute wooden love sign. I saw the sign and instantly knew what I wanted to do with it, so it ended up in my cart.
Today I will be showing you how to decorate this love sign in only two steps!
Lets Get Crafty!

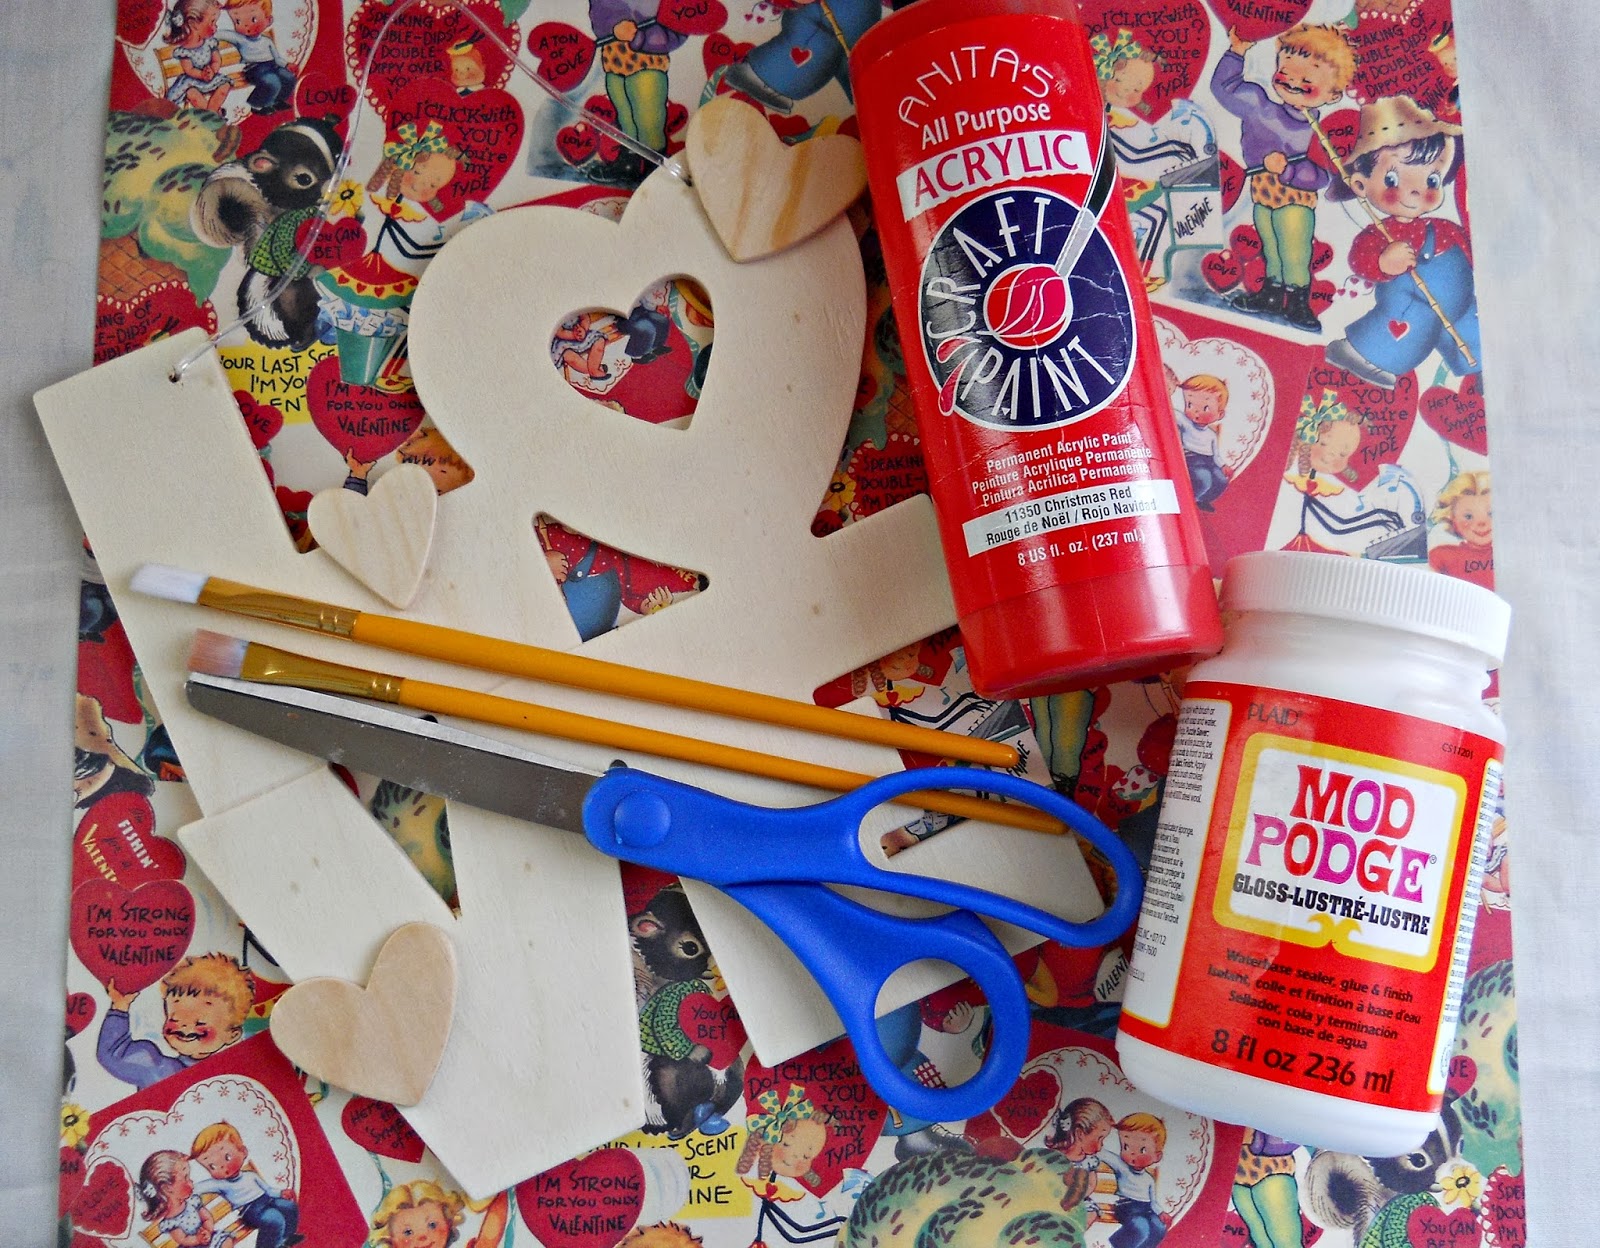
Supplies
Love Sign ( I got mine from Wal-Mart)
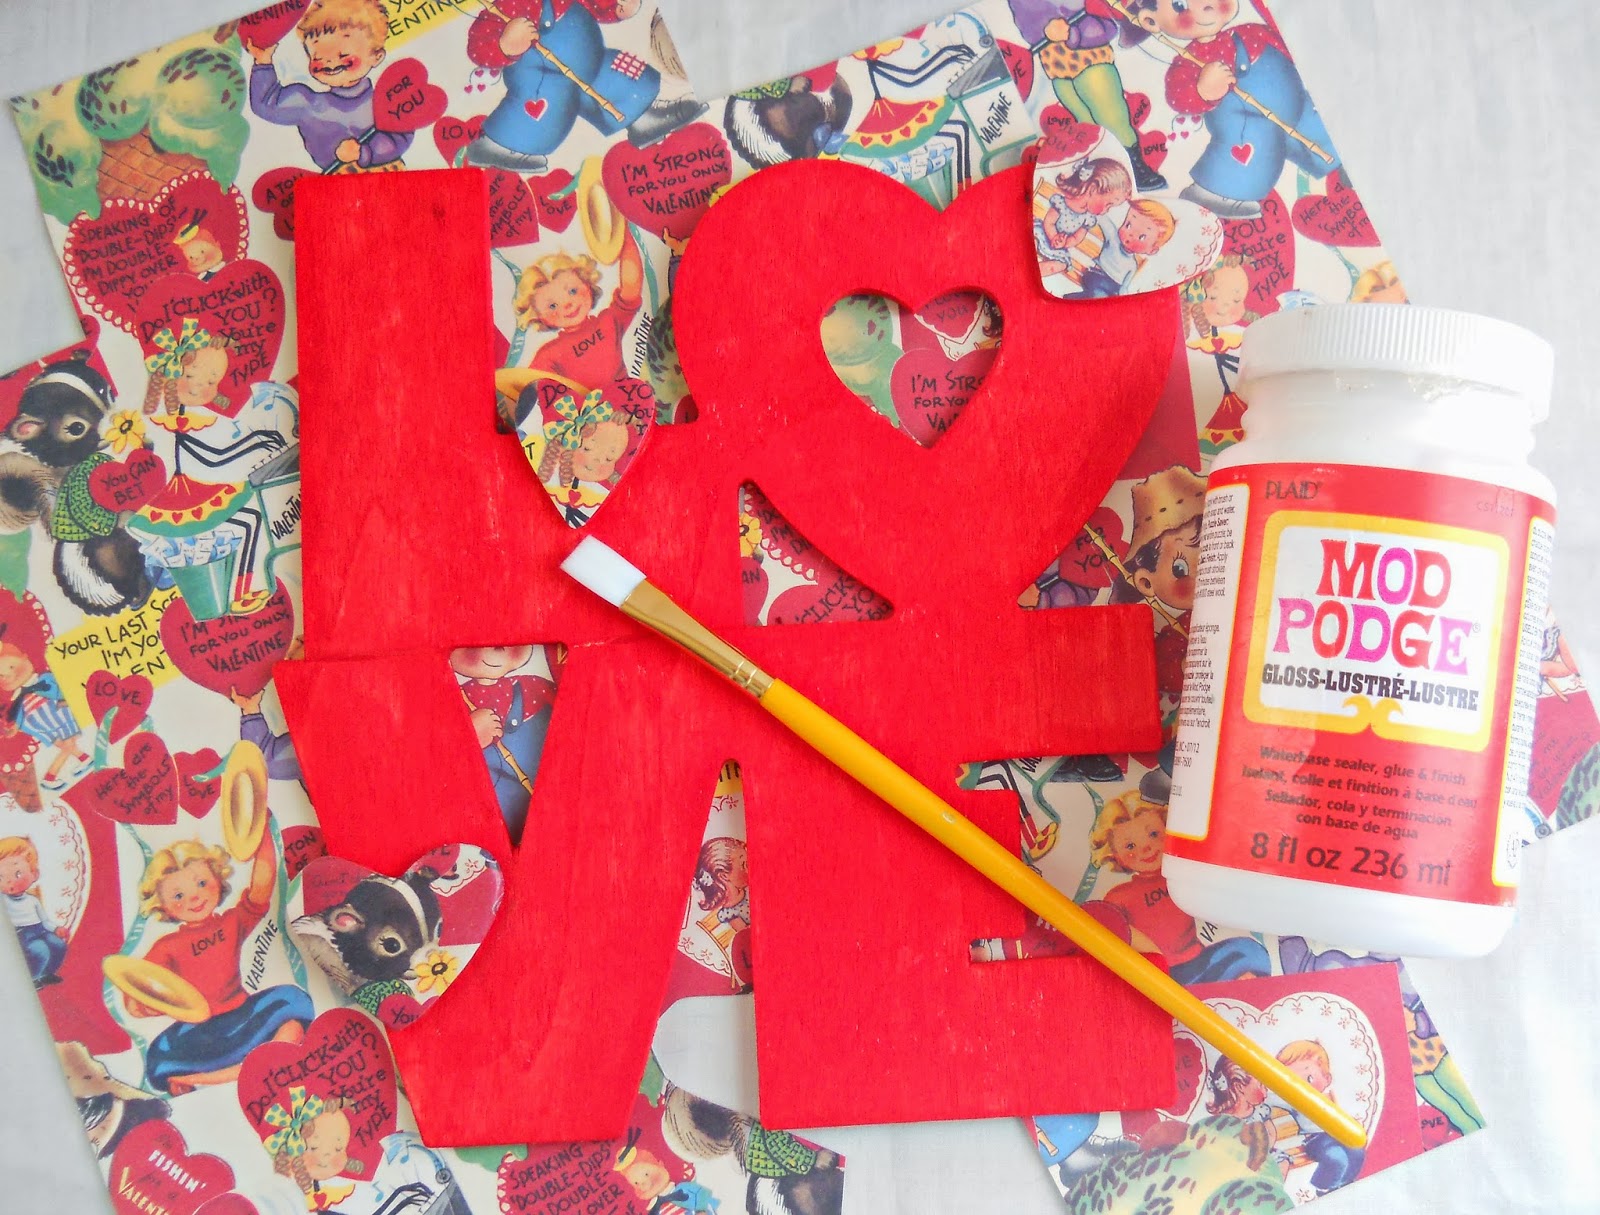
Red Paint
Paintbrush
Mod Podge
Scissors
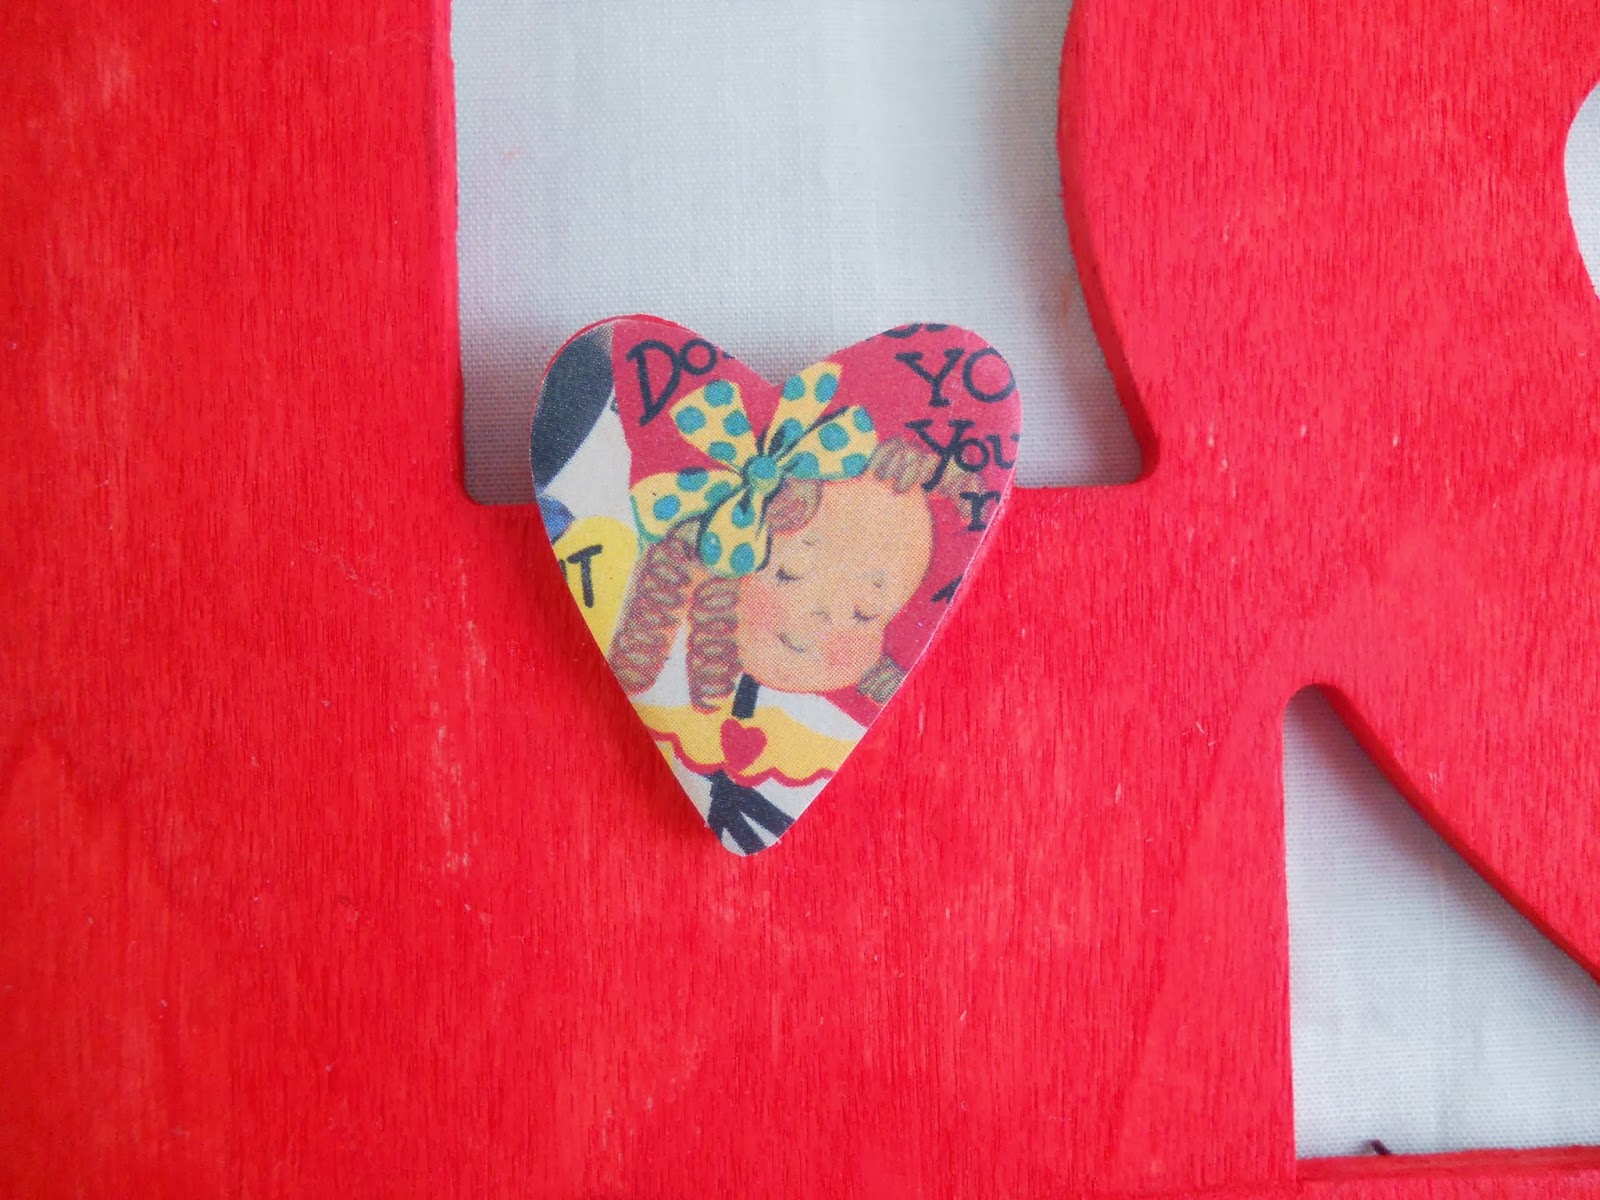
Scrapbooking Paper
Marker (not pictured and optional)


When your sign in dry, then your done!
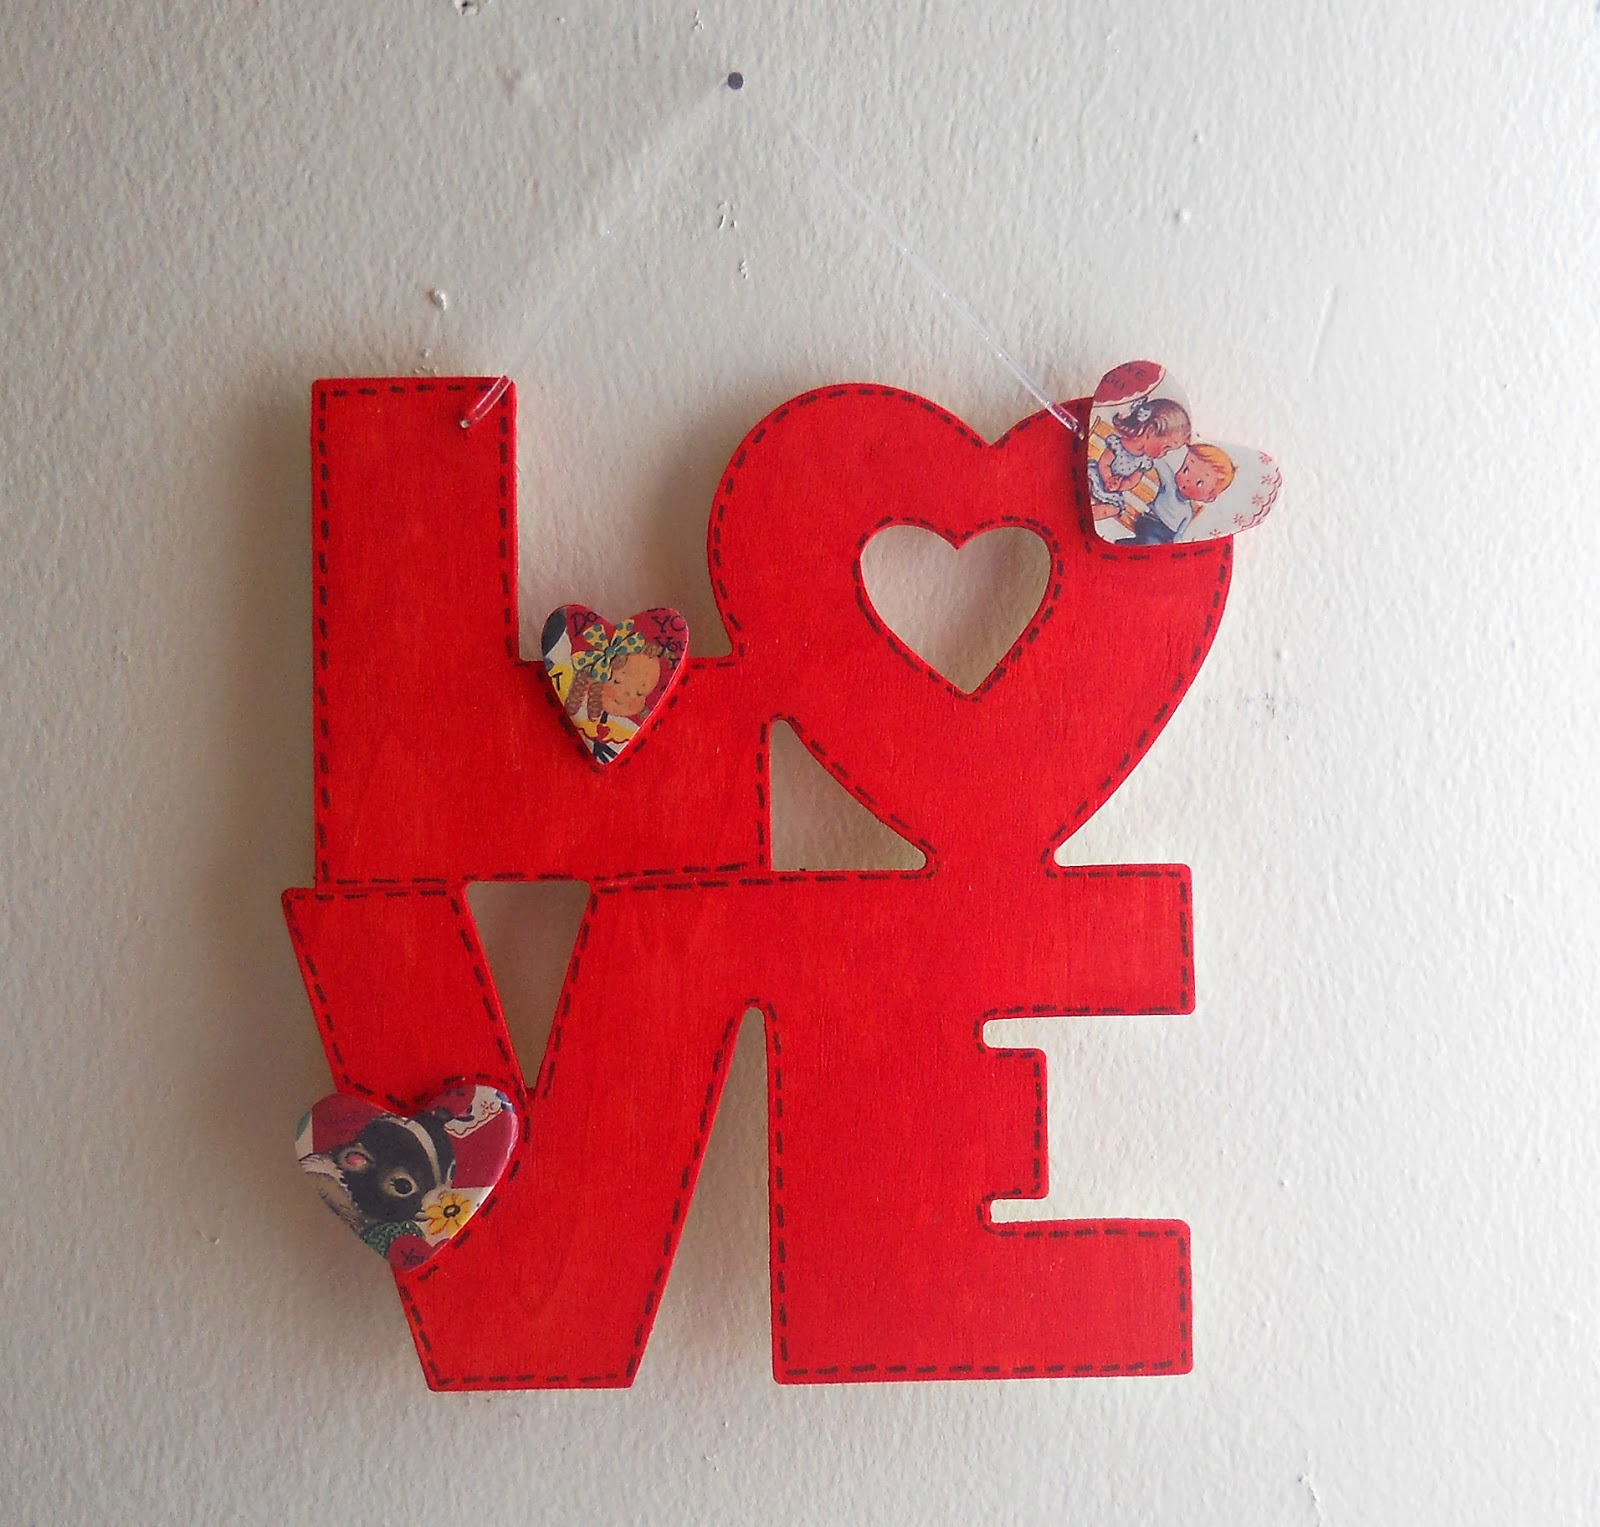
So what do you think, do you love the sign?
xo Katie
p.s If your loving this project then you might want to check out my Heart Garland DIY!


This is.... lovely! It's so pretty, I really like the little dash lines you made with the marker. It looks like sewing.
ReplyDeleteWell thank your for leaving a lovely comment (lo)!
Delete