
 |
Hello Everyone,
Happy New Year! Hope you all had a great New Years Eve and an even happier New Years Day.
To kick off this New Year, I'm showing you guys how I created my memory jar for 2015. For those of you who may be new to the blog, I started this tradition of creating a handmade memory jar after seeing this post on Pinterest. A memory jar (encase you don't know) is where you write down goals you may have accomplished, gifts you may have received or any other happy things that have happen to you during the year. Then you put all your notes in a jar and on New Years Eve you read all your happy memories that you wrote down during the year. I've been doing this since 2013 and have absolutely loved it!
This year I decided to go a different route with my memory jar by making the main topper out of an old Christmas ornament! Basically, my mom had a bunch of old and broken ornaments at the bottom of a Christmas decoration box that she didn't want anymore. She ask me if I could use them for any projects and this idea popped into my head. I thought transitioning an old Christmas ornament to a year around memory jar seemed kinda of cool.
Now if you don't have an old/broken ornament or you don't want to scarifies any of your other good ornaments, then thats ok! At this time of year, stores are always having sales to get rid of there Christmas decorations. Most likely you will be able to find a bunch of ornaments you can either take apart or use for this project at a very cheap price.
Finally, this whole project is more for inspiration then necessarily a ''how to''. Cause I know the chances of you finding an ornament exactly like mine is going to be quite difficult. If you want a more ''exact'' DIY project where your creations looks exactly whats like in the picture, then check out my 2014 Memory Jar DIY.
 |
Supplies
Jar
Ornament
Pilers
Wire (I used 24 gauge)
Mod Podge
Glitter
Charm with a Jump Ring
Paintbrush
Scrapbooking Paper
Scissors (not pictured)
Awl (not pictured)
Ribbon Trim (not pictured/optional)
E6000 (not pictured)
 |
| picture 1 |
 |
| picture 2 |
 |
 |
| picture 1 |
 |
| picture 2 |
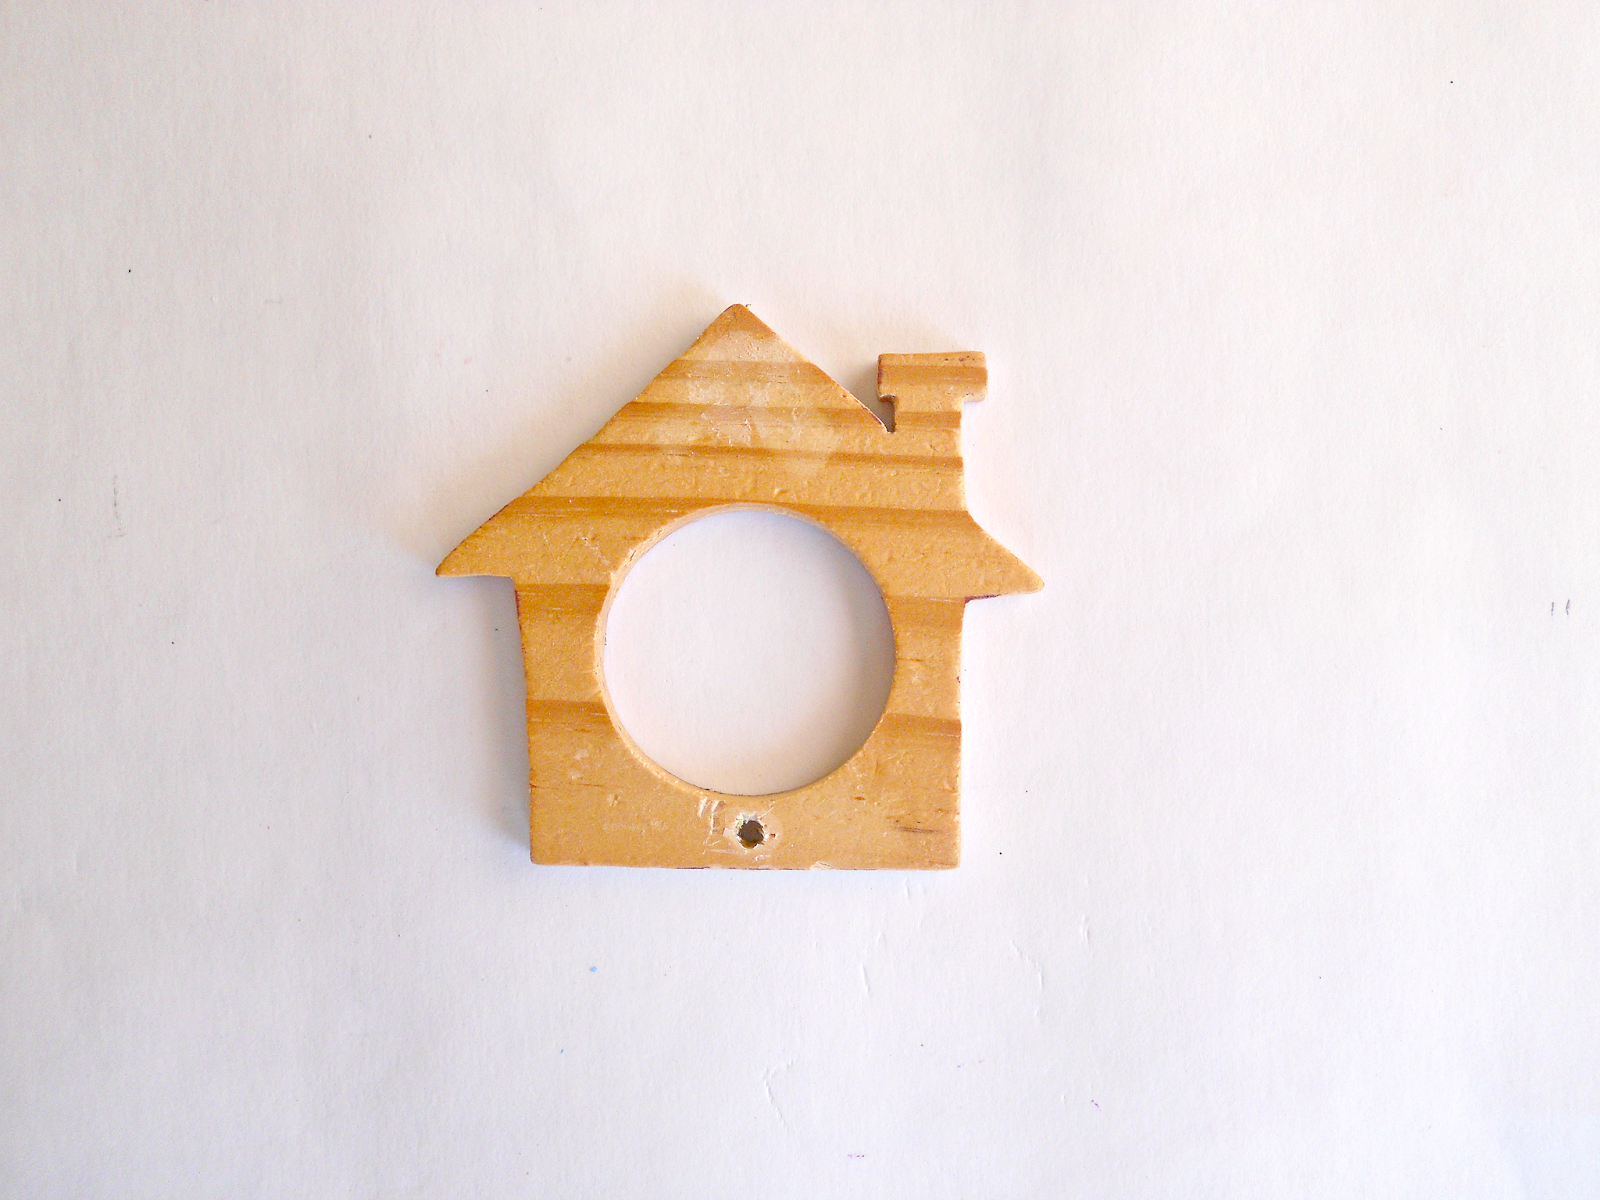
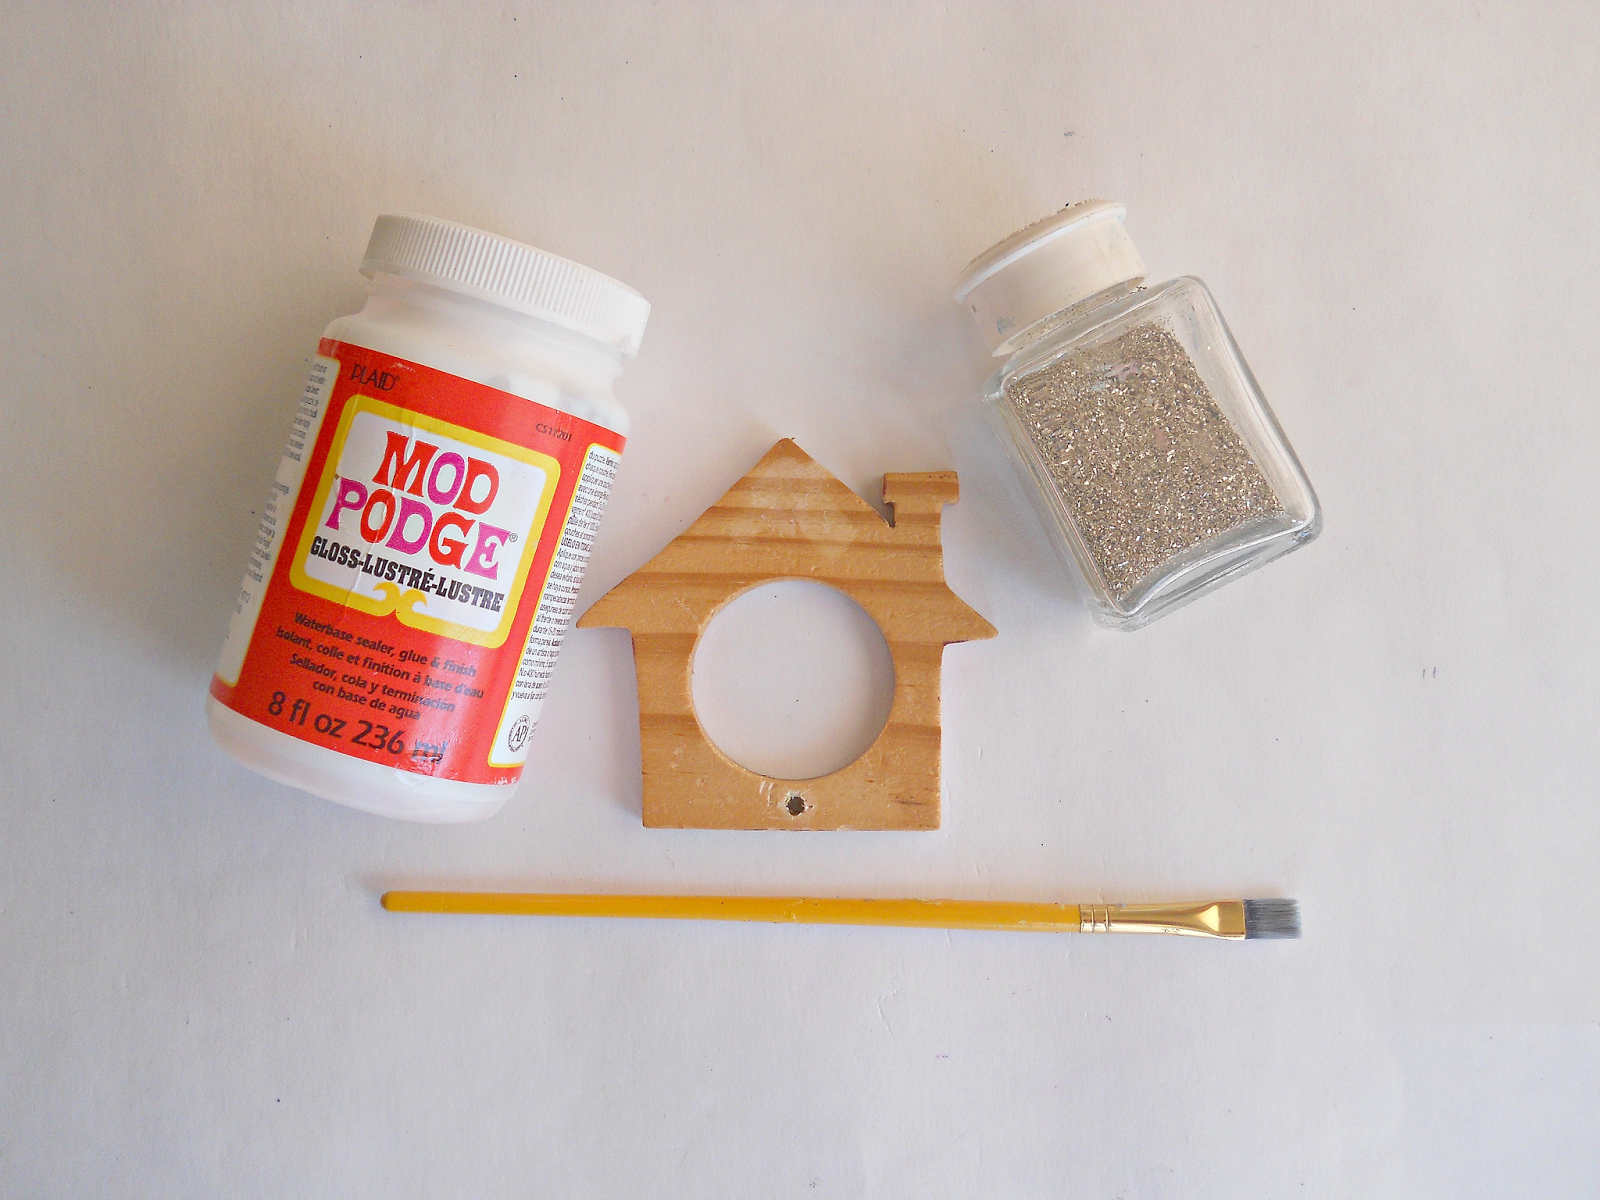
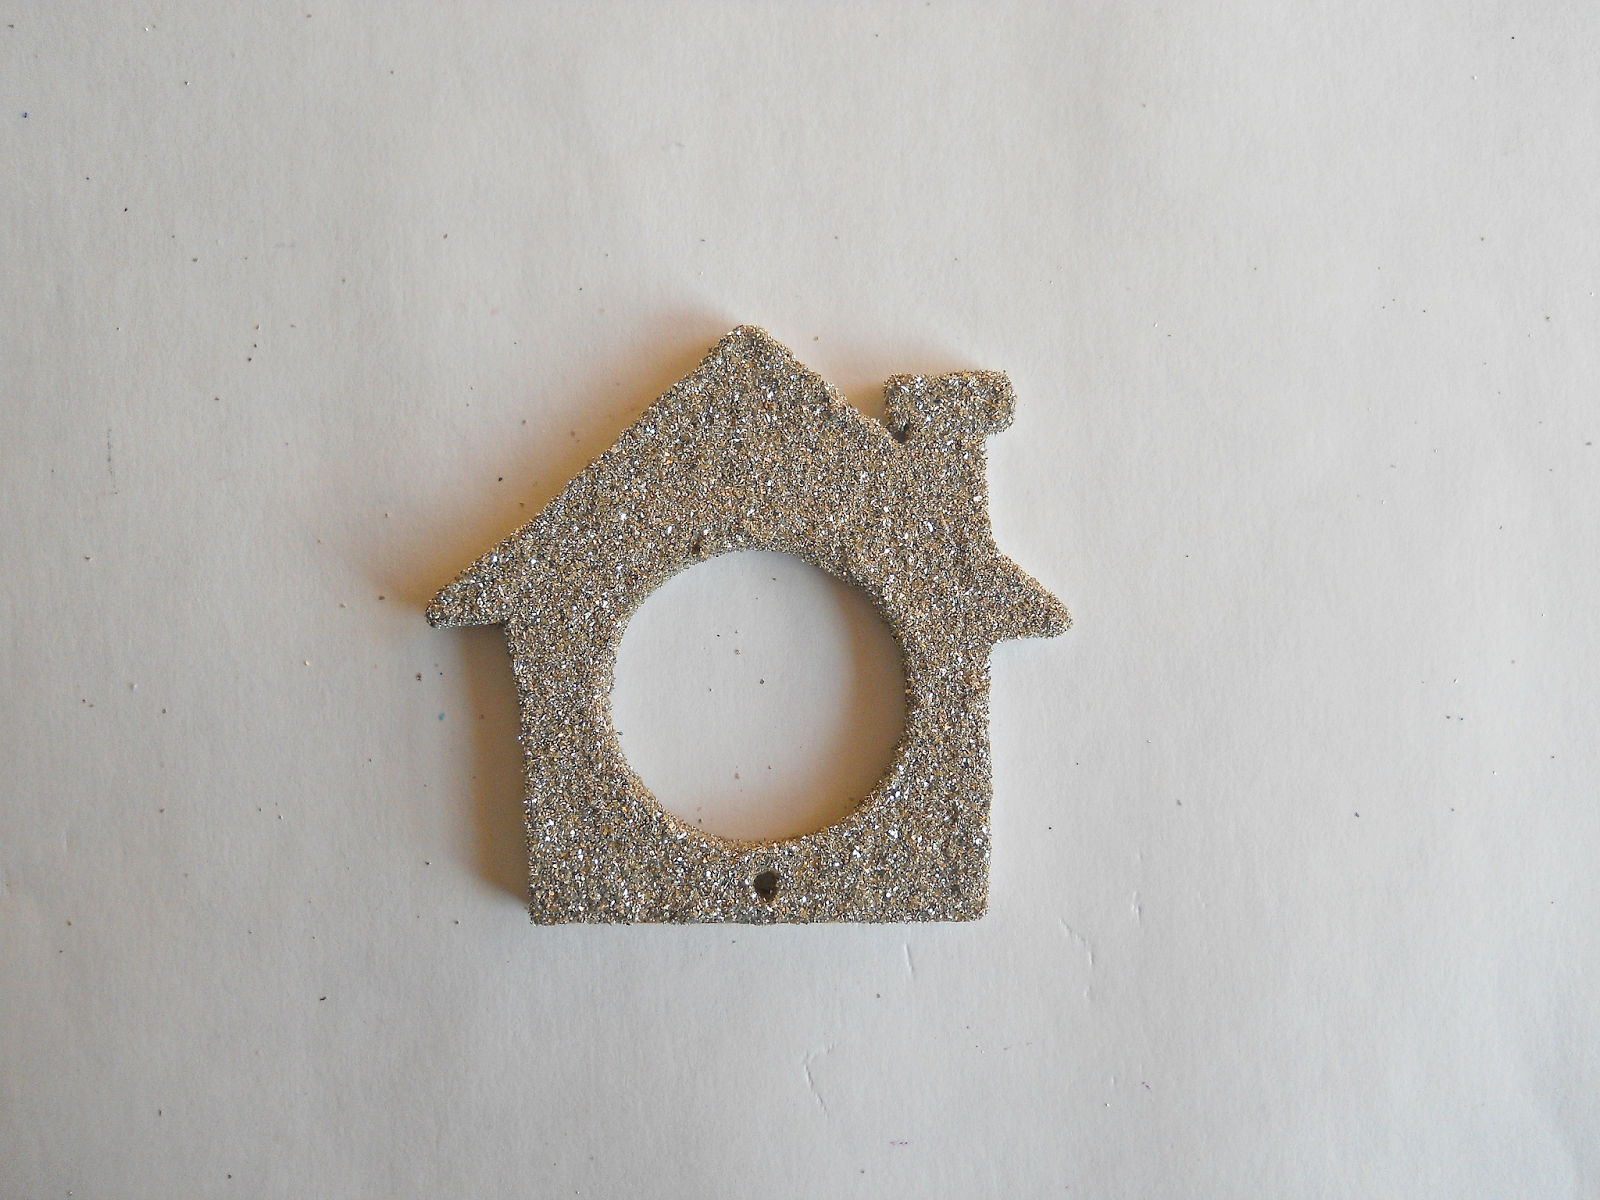
Step 3: Cover your ornament with some Mod Podge and add your choice of colored glitter. When your ornament is dry you can either seal it with another coat of Mod Podge or with a Clear Acrylic Sealer spray.
 |
Step 4: Using some wire and your pilers create a small loop. Then cut the small loop from the main piece of wire.
 |
Step 5: Now apply a small drop of E6000 at the end of your wire loop and place it inside the hole you made in step 2. Then set the whole piece aside to dry.
 |
Step 6: While your ornament is drying you can work on the lid of your jar. With some scrapbooking paper, cut out a circle that will cover the top of your jar. Once you have the circle cut out, glue it to the jar lid with some Mod Podge and let it dry.
 |
 |
Once your happy with the entire look of your jar, then your ready to start filling up your jar with memories!!!
 |
 |
 |
Giving broken items new life is alway fun (especially when glitter is involved)! When I got done with this project, I found some teal pom pom trim. Since I felt the gold lid was competing with the sliver glitter, I decided to add the pom pom trim around the rim of the jar. After doing this, I ended up really loving the entire look of the jar.
Now I can't wait to start adding my 2015 memories!
Are you keeping a memory jar this year?
xo Katie
xo Katie
p.s Don't forget to share your thoughts about the blog and what you would like to see in 2015 in my first Reader Survey!


Its such a cute idea ;)
ReplyDeleteI think i should do One for ,my own ,
Greetings from Berlin
Nina
Thanks Nina! Greetings from Ohio!
DeleteI love what you did with the old broken ornament, Katie! Everything is better when covered in glitter! :)
ReplyDeleteThanks Katie, I'm glad you like the project! After finishing this DIY, I really want to make more projects which involve broken ornaments (and glitter of course) :)
Delete